
In my last blog post, I talked about why I built a home server. I also went through the part selection process. Check it out here if you missed that post. This time, I’ll discuss the joys of actually putting a computer together and the process of installing TrueNAS, a free open-source NAS software based on FreeBSD.
Because I am blogging this after the fact rather than extemporaneously, I don’t have a ton of pretty pictures to show you of the building process. Please accept my apologies and enjoy this photo of Data intensely staring at his cat, Spot. (This is only photo I saved to my phone on the day I built my server.)

Even Androids love cats
“You must talk to him. Tell him that he is a good cat, and a pretty cat.”
– Data to Worf on how to cat-sit for Spot
The first step was the hardest one – waiting for parts to come in the mail. Due to the wonderful joys of Amazon prime shipping, the first item to arrive was my M.2 to SATA adapter. It actually came with 5 SATA cables, so it turns out I didn’t need to order those from Newegg. My order had already shipped, and you can never have too many spare cables sitting in a drawer unused. My cheapie SSD came in a padded envelope – I love how durable SSDs are compared to HDDs. Then it was the week-long wait while the Newegg order shipped from the warehouse in California to South Carolina. As much as I dislike that Amazon is the mega-corp that it is, the Prime shipping experience is just so nice. The day finally came, and I recruited some help to carry all the boxes from the BJU post office to my dorm room. The biggest box was the case – even though it’s a mITX case, it still came packaged very securely in thick hard foam. The five Seagate Expansion drives would be an exciting project. My friend Elias, a computer science major, helped me with the HDD shucking process. I used this fancy toolkit my parents got me for Christmas:
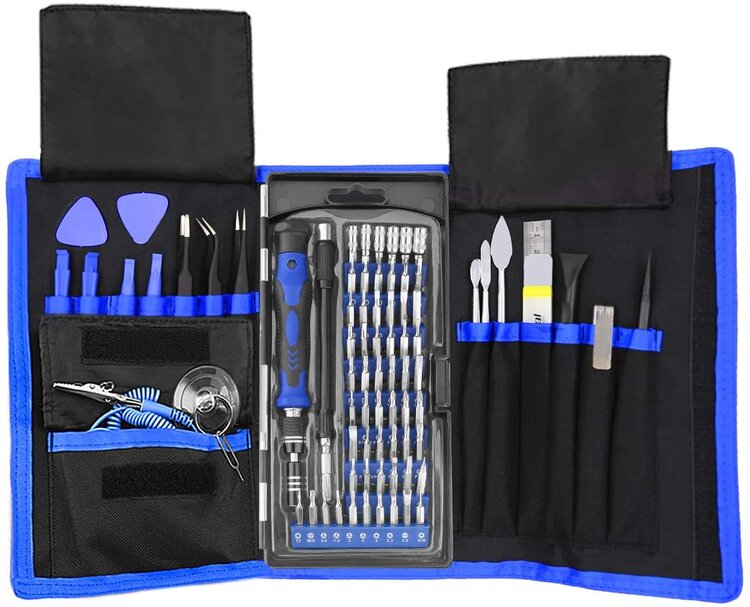
XOOL Precision Tool Kit
Clearly a knock-off iFixit
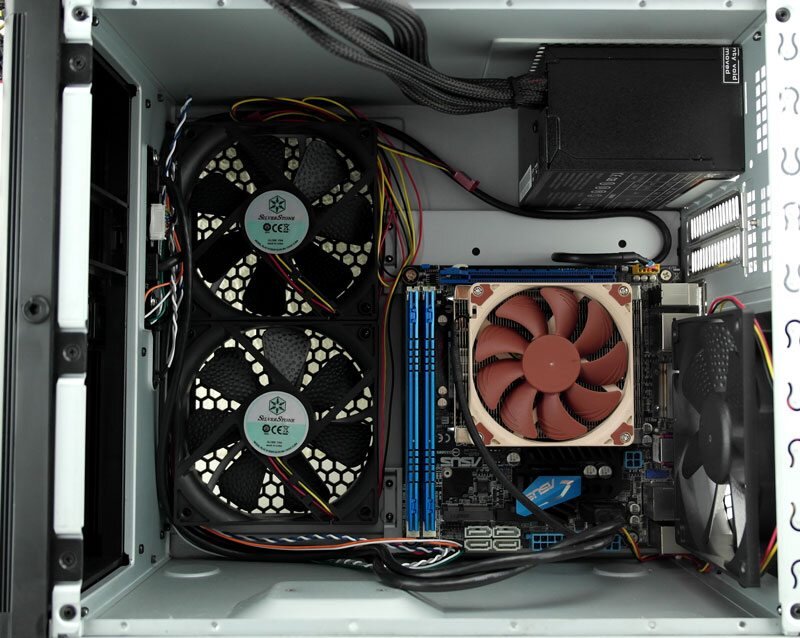
The plastic enclosure for the hard drive was attached with little tiny plastic clips on the edges. At first, I attempted to use the plastic prying tool (The wider black tool up above) or the plastic guitar picks. It kinda worked that way, but when I switched to the metal prying tools things were much easier. The first drive was definitely a struggle because I didn’t know where the clips were. Elias finished the first drive, so we had a pattern for finding them. Rather than attempting to pry horizontally the whole way along the drive, I pried vertically along where just the clips were. I also shucked my old 8TB Seagate Expansion drive. Installing 6 drives in sleds took a bit of time. I had my motherboard nearby, so I moved onto to the classic computer building fun stuff. I installed the CPU with the stock cooler. The AMD stock cooler is fully RGB’d out, compared to the subdued case with no window. The rainbow puke is fully contained inside the black and silver case. I initially installed the 32GB of RAM I thought might have been the problem with my previous PC, Berthita.
“Placing faulty hardware inside a new enclosure does not magically fix faulty hardware.”
— Common sense, something I seem to lack
After I started to experience some of the same memory cache swapping issues Berthita had, I swapped it for the RAM I discussed in my previous post that I bought off my neighbor Elias. My server isn’t necessarily reliable now, but I’m also constantly tinkering with software that pushes this consumer-grade hardware to the limits. Installing the little M.2 to 5x SATA adapter was a joy, simply because it’s a weird little piece of technology. I installed all the cables first, as suggested by some Amazon reviews. The adapter did not feel particularly durable, but it got the job done. I’m very grateful to Elias, because I also borrowed his SFX PSU while I waited for mine to come in the mail. It takes a special type of computer hardware nerd to have a spare SFX PSU sitting in a college dorm room. I installed my motherboard in the case before I plugged in my power supply cables, one of the classic PC-building blunders, so it was a little bit of a struggle installing cables, particularly that nasty little 8 pin CPU cable. Once I plugged all the SATA cables into the daughterboard on the drive cage, this tiny little case became a true rat’s nest of cables.
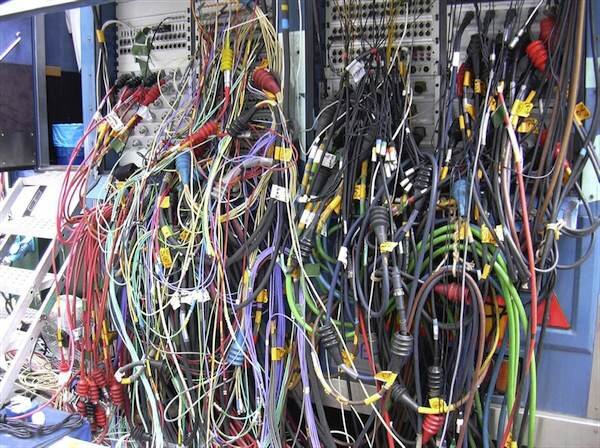
True rat’s nest
I promise it’s not this bad
It only took some slight pressure to get the case to close. I had completed the hardware section of this journey. I had my software installation USB drive prepped — then the bell in the Bob Jones dorm rang. My 1:00 investing class was 10 minutes away, so I had to pull myself away from my exciting project to learn equally exciting risk management theory.
After my class, I headed to my job at the IT Assets warehouse at BJU, where I imaged computers. I talked to all my co-workers about how excited I was to build my server. After I deployed some computers to another department at BJU, my boss let me leave early to go play with my server some more. I raced back to my dorm room to start the software install.
I had decided to use TrueNAS as the software for my server earlier on. TrueNAS is an open-source storage-focused operating system based on FreeBSD. It uses a walled garden approach to software installation based on FreeBSD jails. TrueNAS plugins are just preconfigured jails with certain software installed. For example, I have a jail for Nextcloud, a jail for Plex, and a jail for my download client. Only the files that I directly map to the jail can be modified by the software in the jail. Plex has access to my media share, while Nextcloud does not. The download client can only place files in the completed downloads folder – it can’t access my main file storage.

FreeBSD jails
Like Docker containers, but entirely different
TrueNAS, previously known as FreeNAS, is built on ZFS, the Zettabyte File System. ZFS offers incredible performance, security, and file error correction. ZFS offers RAID-like disk pooling without the need for a hardware RAID controller. For my five 14 TB disks, I pooled them in RAIDZ1, which sets one of the disks to be used for parity. That means one of my disks can go down without any data loss. I have a total storage capacity of 56TB in my main storage pool. I asked my friend Luke what to name my storage pool – he decided on the name Big Thiccums. Big Thiccums has 5 HDDs with the 120GB SSD write cache. I also installed my previous 8TB HDD into its own pool. TrueNAS through up several warnings about data parity and redundancy with only one disk in a pool. All of my pools are fully encrypted. In order to get into my NAS, you need credentials. If the disks were removed from my NAS and placed in a new server, they would need the encryption key to recover the data.
When I first set up my NAS, I was at Bob Jones University. BJU requires all devices to sign in using a web-based portal to assign the MAC address to the student account for internet tracking. Because TrueNAS is designed to be a NAS device, it does not include a GUI – that means no web browser to sign into the BJU network. I first just set up a simple network – an ethernet cord from the NAS to my PC with manually assigned IPs. This enabled me to do all the initial setup, but I couldn’t directly download any plugins from the NAS because there was no internet access.

Because I knew that the authentication was a simple MAC address lookup, one attempt to get my NAS on the network was through MAC address spoofing. At first I tried spoofing my PC’s MAC onto the NAS’s network card, but that didn’t allow it access to internet. Elias suggested I try it the other way around, signing into the networking from my NAS’s MAC spoofed onto my main computer. That didn’t seem to work initially. However, when I booted into my Linux VM, running on a VNET off the same network card, it was able to connect to the internet. Another way I could have connected my NAS to the network would be spoofing the MAC onto a new router, but this project had already taken enough of my money. Instead, I decided to wait the two weeks until I was done with Bob Jones and do all the fancy configuration at home.
“Patience is a virtue. One I certainly don’t have”
— Someone impatient who really wanted to play with a fancy server instead of working on schoolwork
Next post, I’ll discuss more of the software setup process, including some of the interactions between media management plugins and fun VPN connection things through a special piece of software called Tailscale.
Rat’s Nest image- Gael Mace, CC BY 3.0 <https://creativecommons.org/licenses/by/3.0>, via Wikimedia Commons


